Our Epoxy Floor Installation Process
Here’s exactly what happens from the first visit to the day you get your floor back, whether it’s a two-car garage or a commercial space.
Walk-Through & Floor Assessment
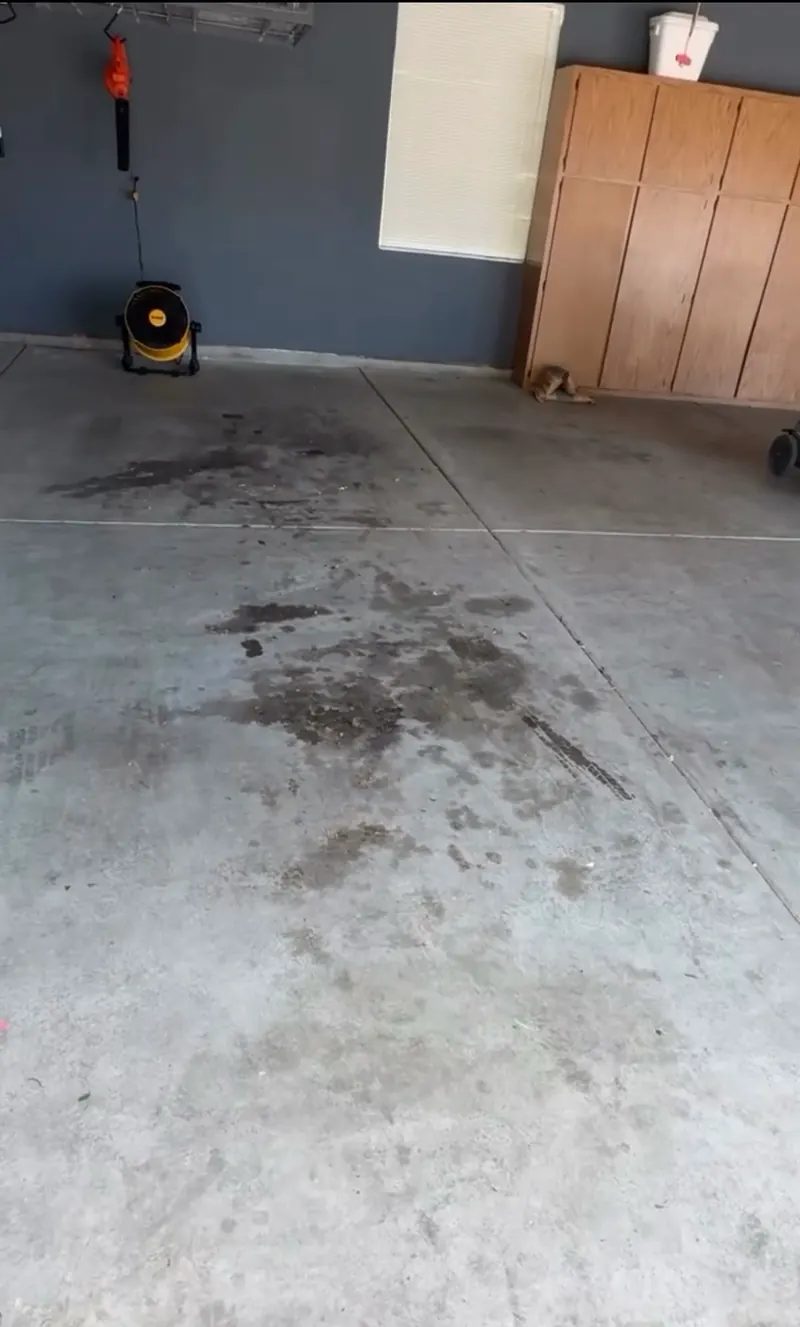
We come out, look at the concrete and talk about how you use the space. We check for cracks, spalls, oil saturation, old coatings and signs of moisture, the things that decide how much prep the floor needs.
Written Estimate & System Recommendation
You get a written estimate that spells out the prep, repairs and coating system. We’ll recommend flake or solid color based on your goals, and bring color samples.
Scheduling
We set a start date and tell you how long the floor will be out of service. For commercial jobs we plan the work around your operation.
Clean & Treat Contamination
Oil, grease and buildup are removed and treated so they don’t interfere with the bond.
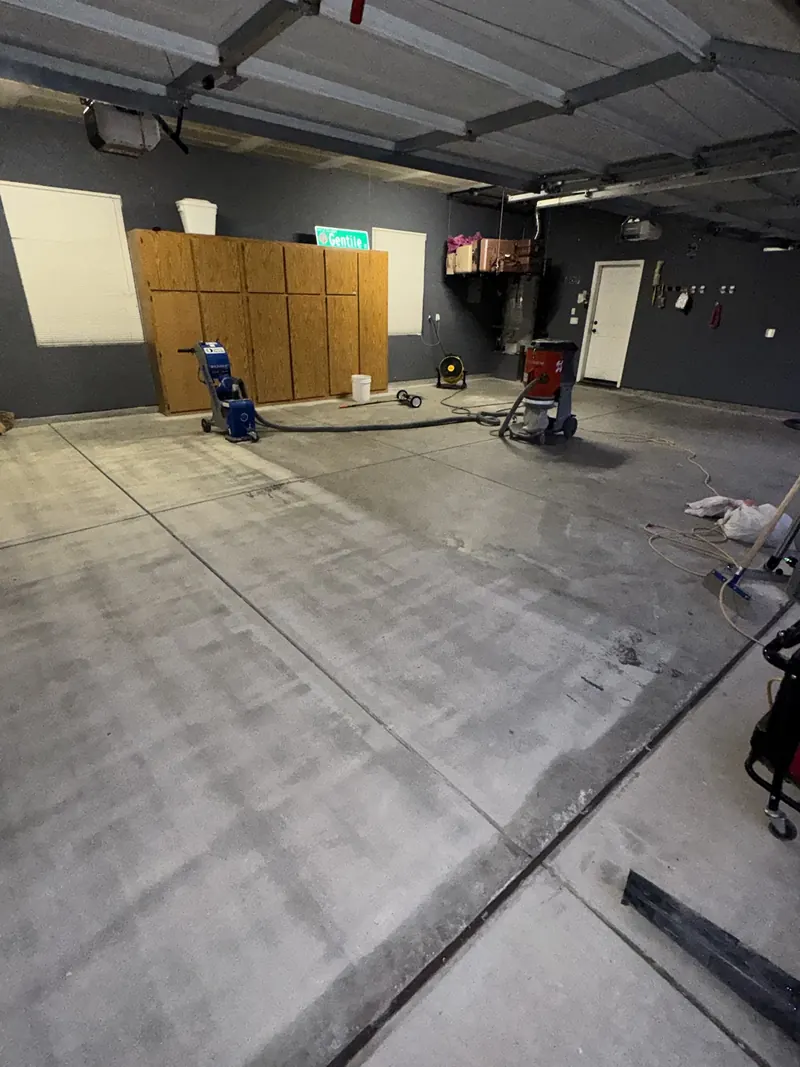
Diamond Grinding
The whole floor is diamond ground with a vacuum dust extractor, opening the concrete to a profile the coating can grip.
Crack, Joint & Pit Repair
Damage is filled and leveled so it won’t show through the finished floor.
Base Coat
A pigmented epoxy base coat is applied over the clean, profiled slab.
Flake Broadcast or Color Coat
For flake floors, flake is broadcast into the wet base until it covers the floor completely. For solid color, the color coat is built up evenly.
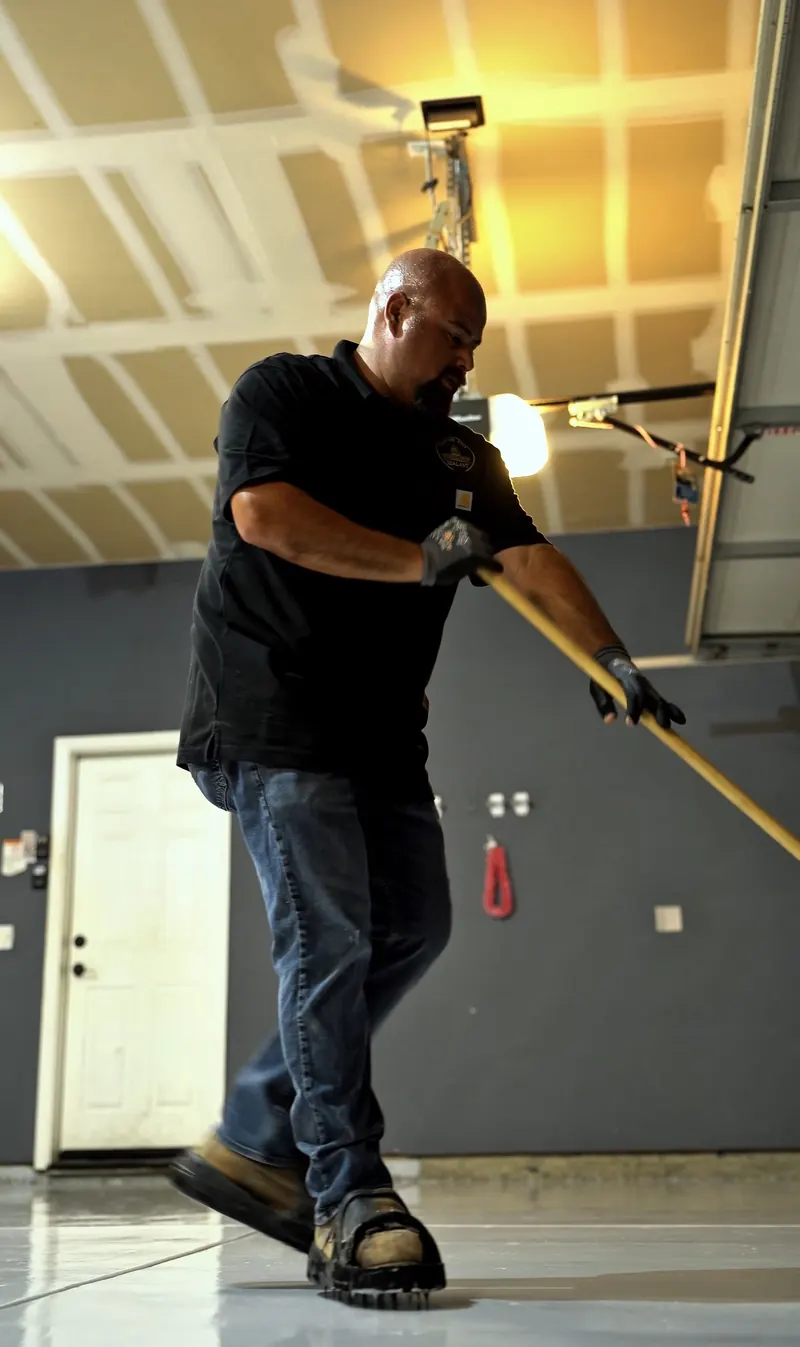
Clear Topcoat
Excess flake is scraped and vacuumed, and a protective clear topcoat seals the floor. Slip-resistant texture is added where it’s needed.
Final Walk-Through & Care
We walk the floor with you, confirm walk-on and drive-on times, and leave you with care instructions.

Start With a Walk-Through
The estimate is free, it’s in writing, and it tells you exactly what your floor needs.